

You played something that sounded great on guitar or piano. But you don't know what chords they were. And by the time you pick the instrument back up, the idea is gone.
The better you play, the more you hit this "my fingers know it, but I don't know its name" wall. The way to close that gap is to record your own playing and translate it into chords.
Record your playing on the spot and you get not just the chords, but the key and the theory behind them, automatically. Send it to Create mode and theory-based chord suggestions help you grow a spark into a full song.
Why "just recording it" isn't enough
There are a few ways to save an idea you played, but most stop at "the sound is saved, the chords aren't."
| Method | Sound saved | Chords known | Grows into a song |
|---|---|---|---|
| Keep it in your head | ✕ | ✕ | ✕ |
| Voice memo | ○ | ✕ | ✕ |
| Work it out by ear | ○ | △ (needs theory & time) | △ |
| Record and detect in the app | ○ | ○ | ○ |
A voice memo saves the sound, but replaying it later still won't tell you "what chord was that." Record it and translate straight into chords, key, and theory, and "play → understand → use" becomes one connected line.
Record your playing in OtoTheory
OtoTheory's Get Chords includes a Record option for capturing your playing on the spot. Everything runs on-device — your audio is never uploaded anywhere.
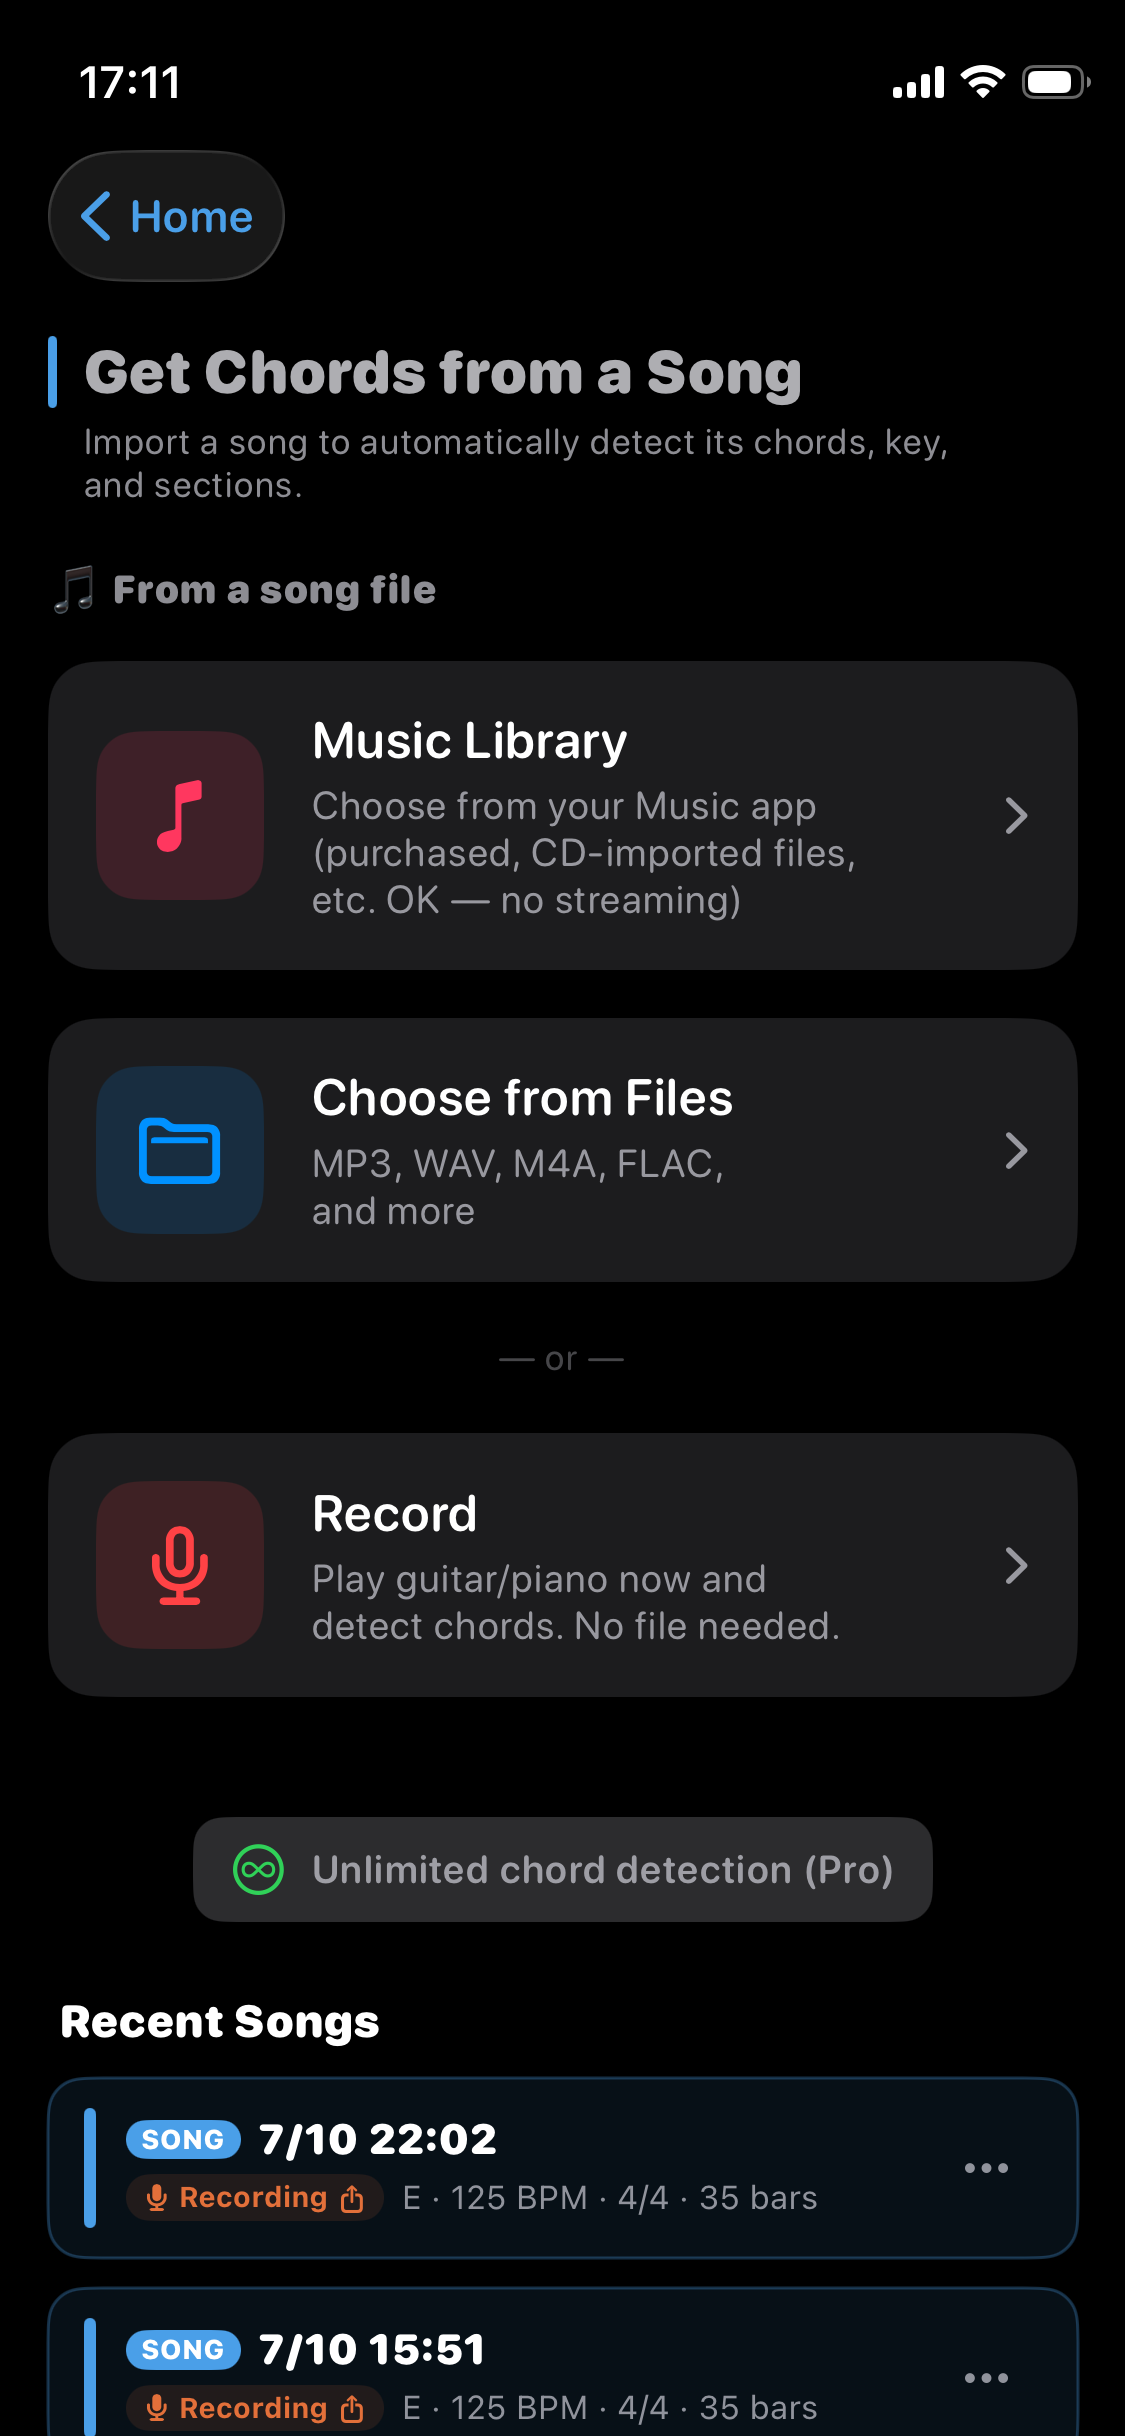
Step 1: Choose "Record"
Open Get Chords and pick Record, below "From a song file." A singer-songwriter part, a guitar riff, a chord idea on piano — anything works.
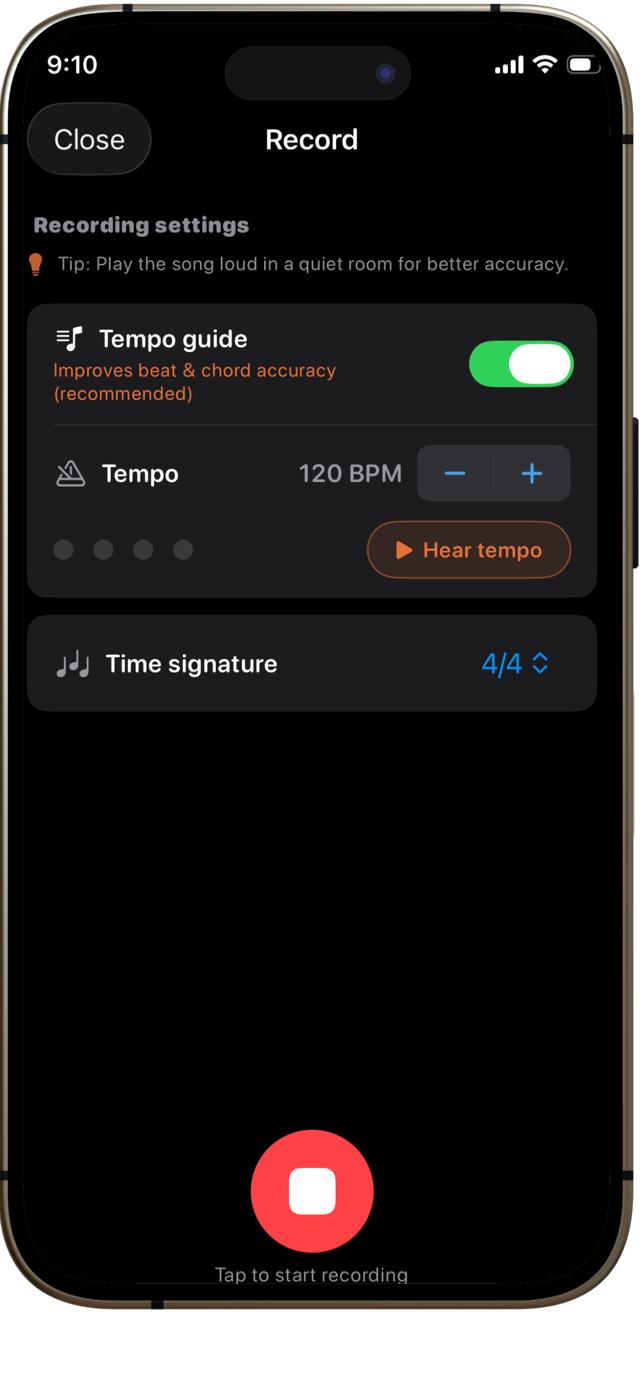
Step 2: Set the tempo and count-in
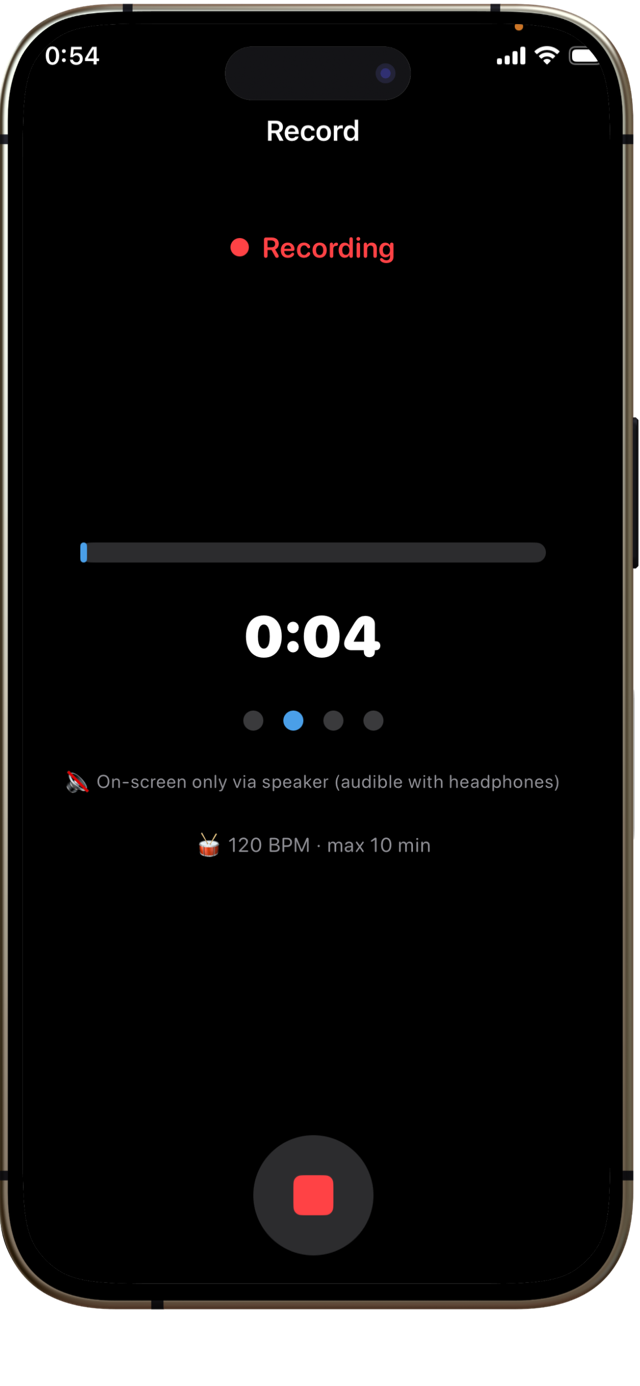
Before recording, set the tempo guide, tempo, and time signature. Turn the tempo guide on and you can play to the beat, which improves beat and chord detection (the in-recording click is audible with headphones; on the speaker, follow the on-screen beat dots).
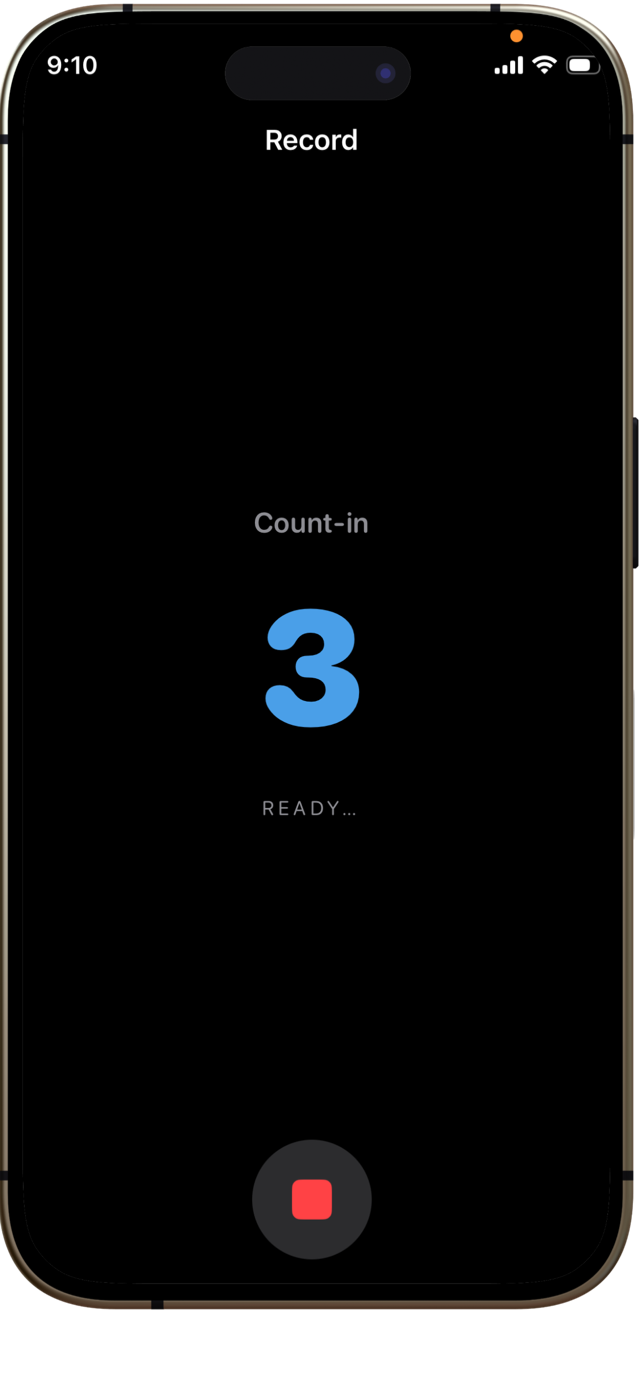
Step 3: Play along with the count-in
With the tempo guide on, starting the recording plays a one-bar count-in (4-3-2-1 in 4/4), then recording begins. Play to the click and hit your chords clearly.
Step 4: Stop, and get chords, key, and sections
Stop, tap "Get chords from this recording," and on-device analysis runs, showing the chord progression, key, and sections.
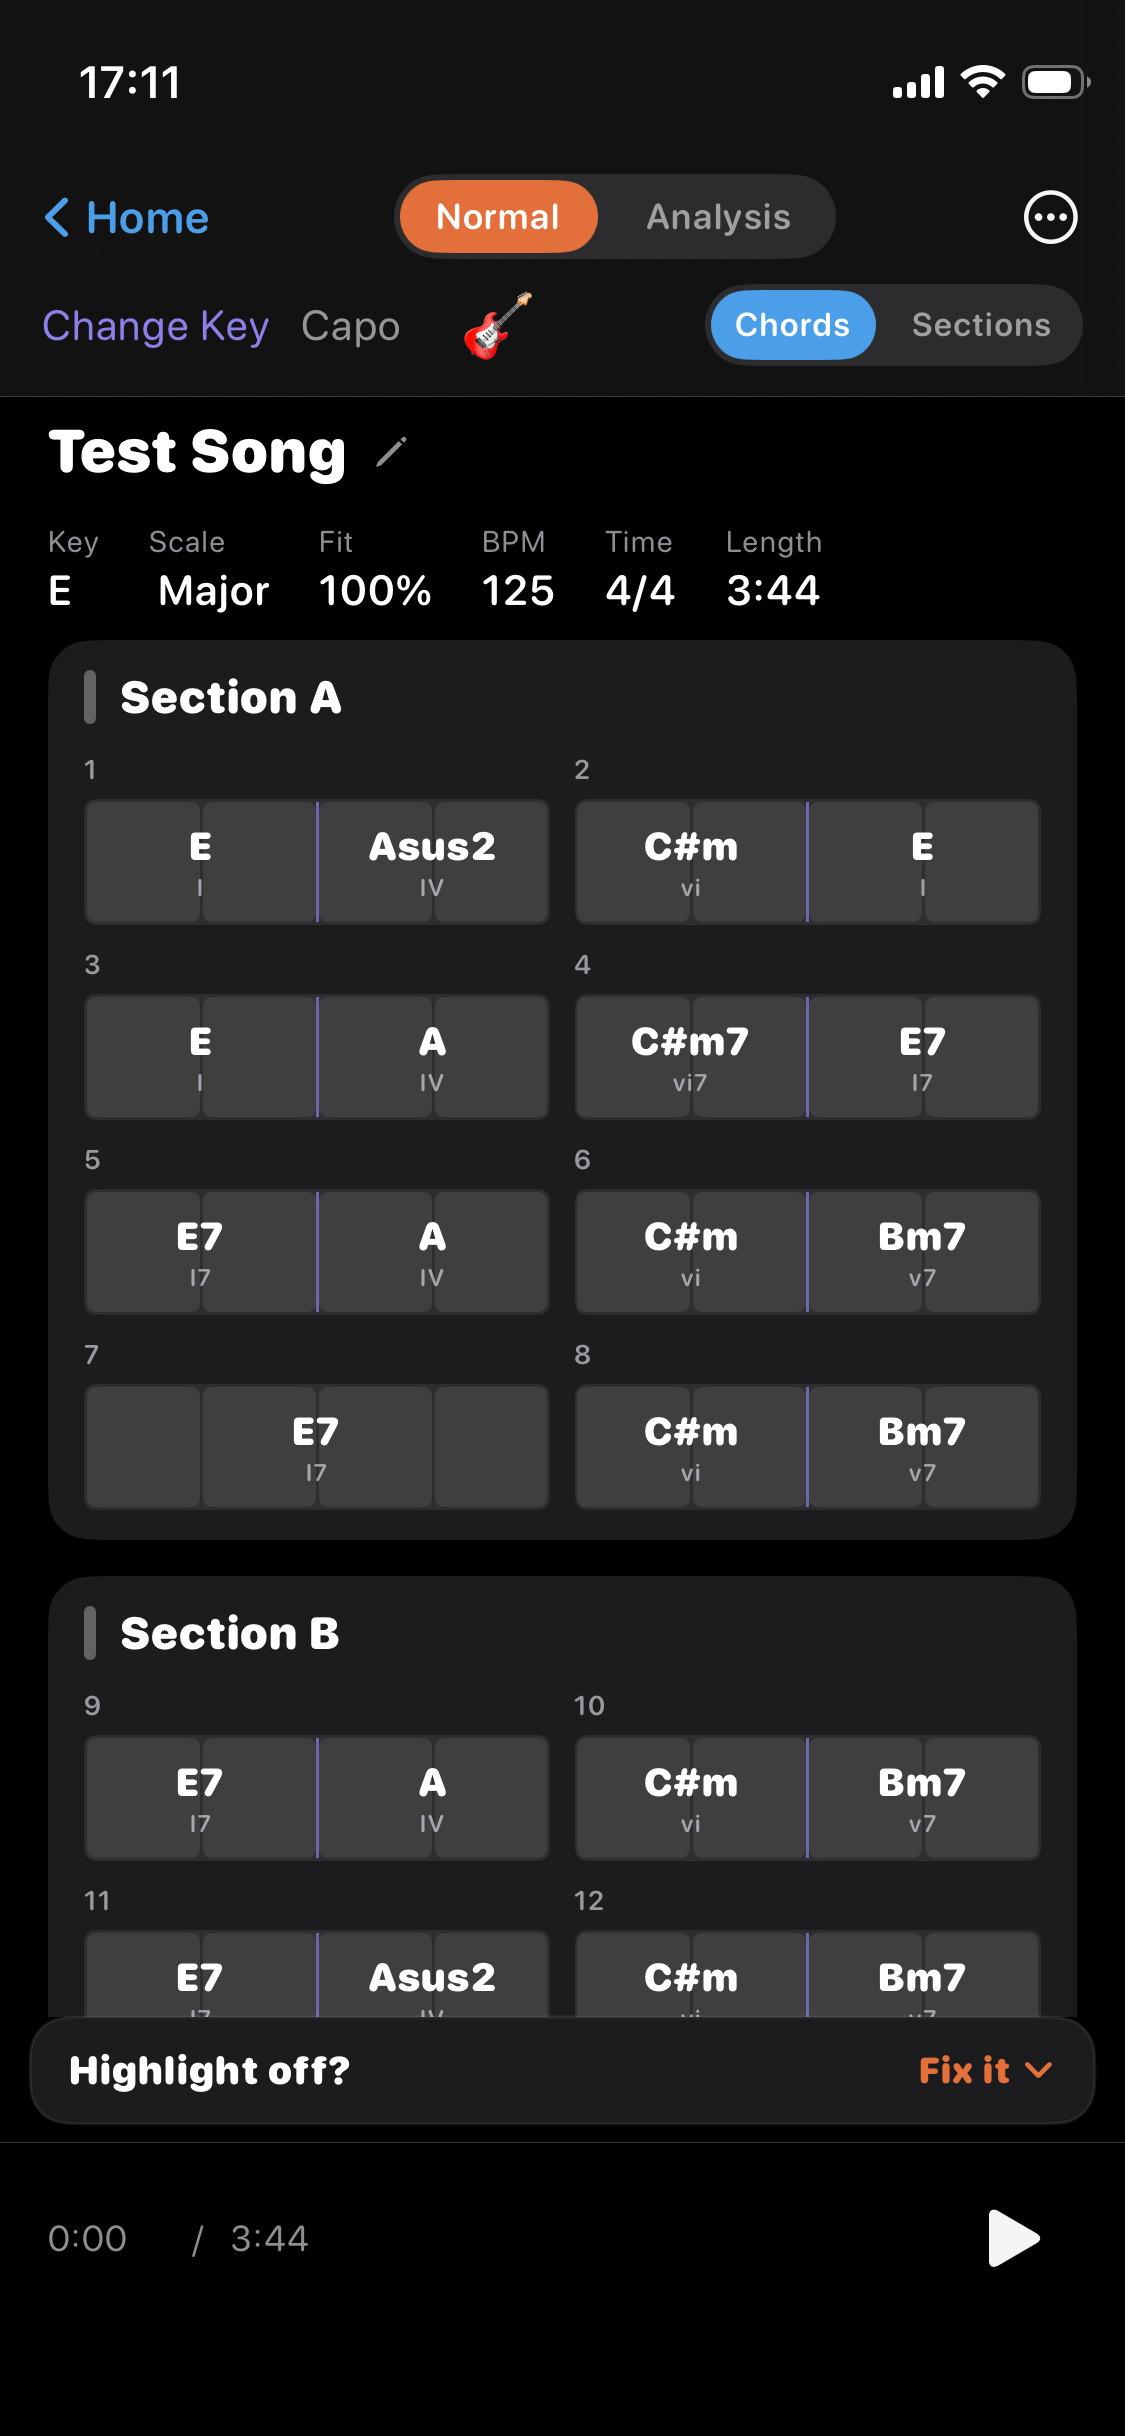
Anything that isn't quite right, you can fix by hand:
- Re-enter a chord
- Tap the beat to line up the timing
- Change the tempo (×2 / ÷2) and time signature
Not just chords — key, theory, and songwriting
The best part of recording is that it doesn't stop at "here are your chords." What you played is translated into the language of theory, and that carries into your next songwriting move.
- Key and theory analysis: beyond chord names, you get the song's key and each chord's degree and function (tonic / subdominant / dominant). You can see, in theory, why it sounded good.
- Understand it, improve it: once you can see how a progression works, you can make deliberate moves — "end on the dominant here," "swap this for a substitute chord." You shape what you played on purpose.
- Send it to Create mode: send the recorded progression to Create mode and OtoTheory AI suggests the next chord along theory lines. Swap and add chords to grow a few bars into a whole song.
- Practice with the fretboard: chord diagrams switch in time with playback, so you can practice while watching how to hold each chord.
- Export: Audio (free), MIDI, and PDF (Pro). MIDI drops into your DAW to swap sounds or keep arranging.
Getting cleaner detection
A little prep noticeably improves detection of your own playing.
- Play along with the count-in and tempo: the beat becomes known, so bar divisions come out accurate.
- Record at a solid volume: quiet audio makes chords and beats harder to pick up. Get close to the mic and play clearly.
- Solo, with clear chords: a single instrument sounding chords clearly detects best (singing along is slightly harder as the voice mixes in).
- Hand-finish complex chords: the backbone triads detect reliably. If a tension like add9 isn't fully captured, just re-enter it to finish off.
Frequently asked questions
Does it work for singing while playing?Yes. But the more the voice and guitar overlap, and the freer the tempo, the more the beat and chords can drift. Play to the count-in and hit chords clearly for better accuracy. Fix drift by tapping the beat and re-enter any chord by hand.
Do I get more than just chords?Yes. Along with chord names you get the song's key and each chord's degree and function (tonic / subdominant / dominant). You can see, in theory, why a progression sounded good.
Can I export the chords I recorded?Yes. Results from your own recordings can be exported as Audio (free), MIDI, and PDF (Pro). MIDI drops straight into your DAW.
Do I need to know music theory?No. Chord names, key, and degrees are added automatically, so you can check what you just played afterwards. It's a natural way for players to learn theory through their own playing.
Is it free?Recording, detection, analysis, and editing are available on the free tier. Exports like MIDI and PDF are Pro features.
Try it on iPhone or iPad
Chord detection from a recording is a feature of the OtoTheory iOS app. Record a spark on the spot and keep it as chords, key, and theory.
Related guides
- What Get Chords is — how import and recording work
- How to find the chords of a song — get chords from a song you have
- The Science of Ear Training — finding chords with theory
📖 References
The following sources were used in writing this article. (※ To be finalized before publish.)
Recording and chord detection basics* Recording Acoustic Guitar at Home – iZotope — how volume and mic distance affect home-recording quality
* Chord recognition basics – musictheory.net — grounding in chord and key perception
Up next: a guide on how to make a chord progression.